

How to Write a Family History Book From Your Research
Years of genealogy research can leave you with hundreds of records, old photographs, family trees, and stories scattered across folders. You've traced your ancestors, uncovered forgotten relatives, and connected generations. But how do you turn those discoveries into something your family will actually want to read?
A family history book brings your research together in a lasting format. It gives relatives a way to discover the people, places, and experiences that shaped their family long before they were born.
How to Make a Family History Book Step by Step
If your research is already assembled, the route from archive to finished book is straightforward:
Choose one family line, generation, place, or theme.
Collect the records, interviews, and photographs relevant to that scope.
Build a chapter outline around people and turning points.
Write short narratives from what the sources actually establish.
Add family trees, captions, source notes, and appendices.
Format the interior and cover for a specific printer.
Check a proof copy, then order the copies your relatives need.
The sections below explain the decisions at each stage; you do not have to complete every branch of your family tree before starting.
What Type of Family History Book Should You Write?
Decide what your book will cover before writing. There is no need to document every ancestor or fit centuries of research into one volume. Choose a format that fits your strongest discoveries and the relatives who will read it.
| Format | Main approach | Best when |
|---|---|---|
| Ancestral history | Trace one person’s ancestors backward. | You want to explain family origins. |
| Descendant history | Follow descendants of one ancestor or couple. | Several present-day branches share an ancestor. |
| Family narrative | Tell an evidence-based story through people and events. | You have letters, interviews, and meaningful turning points. |
| Illustrated history | Pair shorter text with photographs, maps, and trees. | Your visual archive is especially strong. |
Formats can overlap. A narrative about three generations might also contain a foldout-style chart or a photograph section. Set explicit boundaries: the branch, dates, locations, and questions the book will answer. A focused account is easier to finish and easier for relatives to follow.
How to Organize Your Genealogy Research Before Writing
Create a working inventory rather than rebuilding your genealogy database. Set up folders by chapter, person, or generation, and give each scan a useful filename such as Miller_John_1905_PassengerList.pdf. Preserve original scans separately from the copies you crop for print.
For each item, capture its claim, source or repository, and intended chapter. Keep a separate list of gaps that might change the story. An unresolved question does not have to block the entire manuscript.
Example research inventory for one chapter
| Research item | What it supports | Book use |
|---|---|---|
| 1905 passenger list | Arrival year, subject to identification check | Opening paragraph; source note |
| 1908 marriage certificate | Marriage date and spouses | Family timeline |
| 1910 city directory | Listed trade and address | Work and neighborhood context |
| Family photograph, undated | Possible portrait; identity unconfirmed | Illustration only if caption notes uncertainty |
Worked example: If Chapter 2 follows a family’s move to Chicago, you can place the passenger list, marriage record, directories, and related photographs together. This creates a writing packet: the facts you can state, the sources that support them, and the details you still need to verify. The Miller family and all records described here are fictional teaching examples.
If your tree is held in genealogy software, an exported GEDCOM file can help you review names, dates, places, and relationships. GEDCOM is an interchange format, not a finished narrative or an automatic complete export of photographs and source media; examine the receiving program’s limitations before relying on it. FamilySearch explains GEDCOM files.
How to Turn Family Tree Records Into a Readable Story
Family trees show relationships and dates. Narrative chapters explain what the records reveal about a person’s life. Start with a small set of related findings and arrange them into a sequence: where someone lived, what changed, and what came next. Give each chapter a point, such as “The Move to Chicago,” rather than just a span of years.
From source notes to a chapter paragraph
Fictional research notes: John Miller was born in Germany in 1882; arrived in the United States in 1905; married Anna Schmidt in 1908; appeared as a carpenter in a Chicago directory; and had four children. In a real project, these would each be linked to the relevant original record.
Possible narrative: “John Miller arrived in the United States from Germany in 1905. By 1908 he had married Anna Schmidt, and later city records listed him as a carpenter in Chicago. Together they raised four children. The surviving records show how the family became established in a new city, even though they reveal little about John’s personal reasons for leaving home.”
The paragraph connects events without inventing conversations or emotions. You can add sourced historical context (such as how Chicago neighborhoods changed during the period), but do not confuse citywide conditions with experiences proven for a particular ancestor. If family accounts disagree, name the uncertainty instead of picking the more dramatic version.
A simple chapter template
Opening: introduce the person, place, and question driving the chapter.
Events: tell the documented sequence in two or three short scenes or subsections.
Context: explain one relevant historical change, with its own source.
Evidence: insert a photograph or record with a descriptive caption.
Closing: connect this generation to the next chapter.
For a related approach to turning personal material into chapters, see Built&Written’s guide to writing a book about your life.
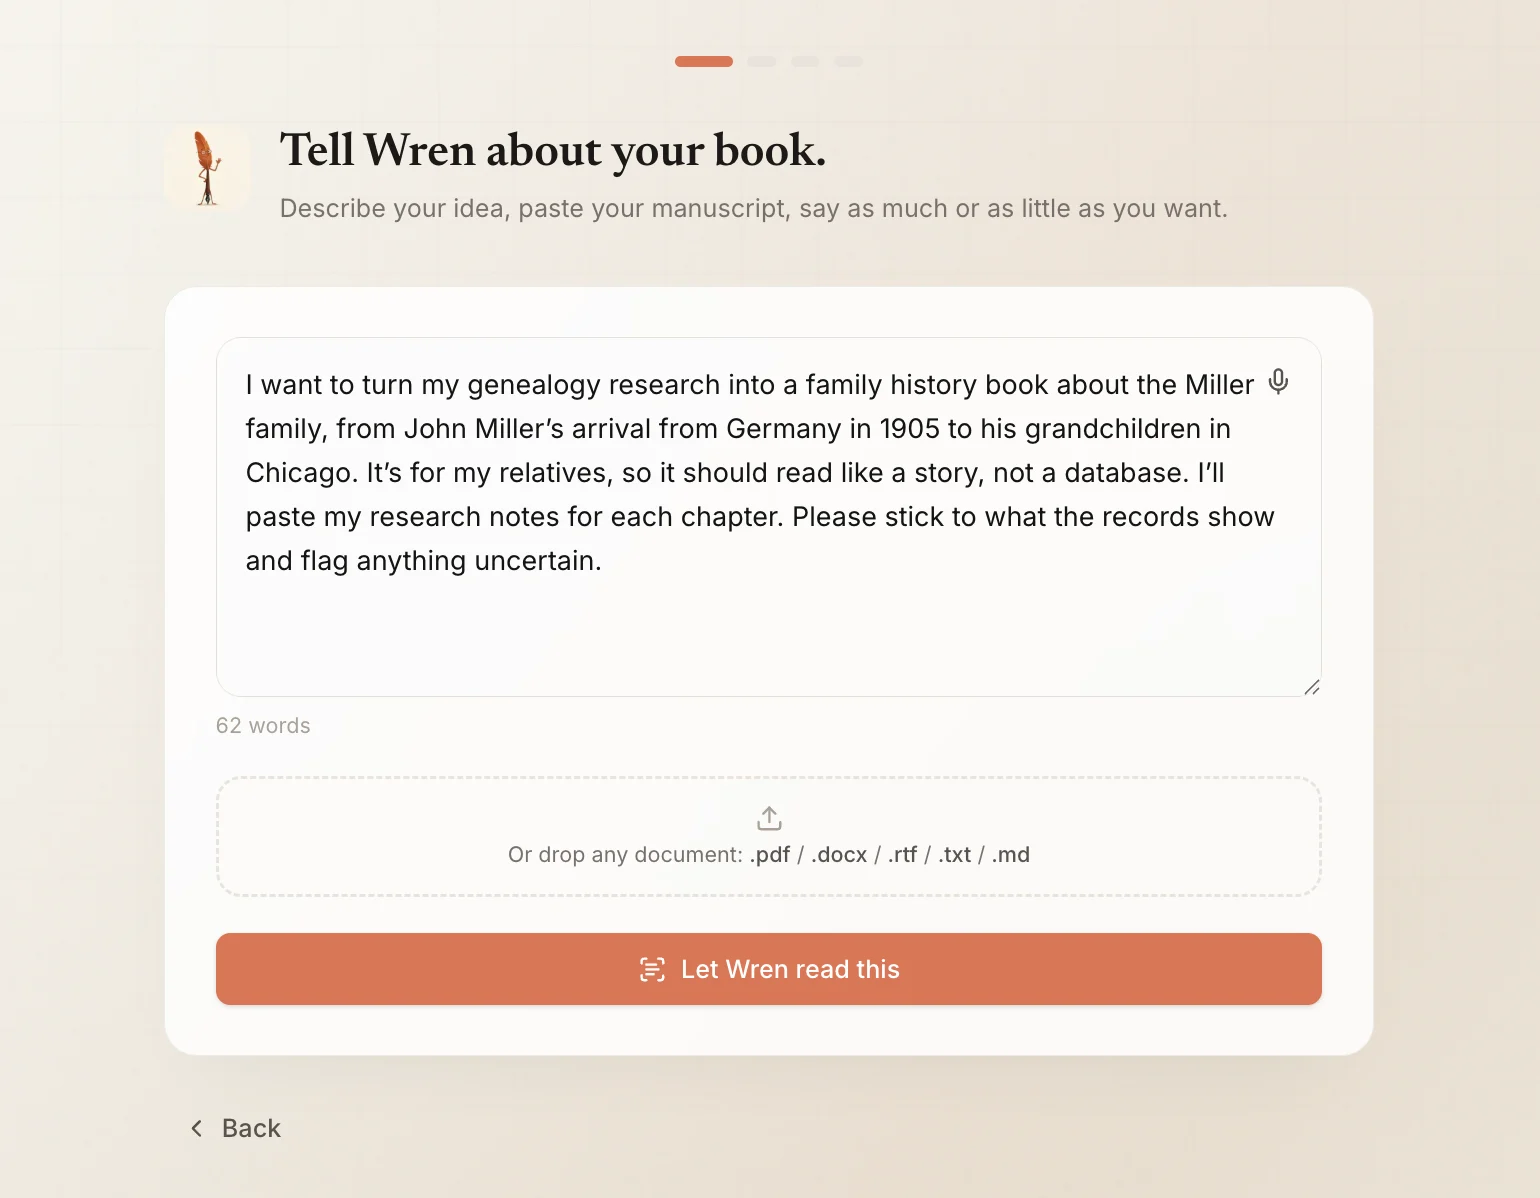
If you would rather not draft every chapter from a blank page, you can paste these writing packets into Built&Written’s book generator, or upload notes you already typed as a .docx, .md or .txt file. It proposes a chapter outline from that material, which you can edit, and then drafts the book chapter by chapter. If you have 5 to 50 pages of your own writing, such as family newsletters or earlier write-ups of your research, Voice DNA learns from them so the chapters sound like you. Built&Written works only from what you give it. It has no GEDCOM import and does not check records, so compare every drafted sentence against your sources, as with the Miller paragraph above.
What to Include in a Family History Book
A useful family history book gives new readers a route through the people and evidence. The main chapters tell the story; supporting pages help relatives check relationships or explore the research in greater depth.
Title page and short introduction explaining the branch, time period, and purpose.
A simple family tree or relationship key near the beginning.
Narrative chapters, with maps or photographs placed near relevant passages.
Image captions and source notes, using one consistent citation system.
Appendices for detailed timelines, group sheets, longer transcripts, and charts.
Acknowledgments or a note explaining who contributed interviews and materials.
Sample table of contents
| Section | Example |
|---|---|
| Introduction | Why this family history was written |
| 1. Earliest documented ancestors | The starting household and original town |
| 2. The migration | Journey and first years in a new place |
| 3. A new generation | Work, marriages, and household changes |
| 4. Traditions and memories | Interviews and personal accounts |
| Appendix A | Extended family tree |
| Appendix B | Record transcripts and chronology |
| Sources | Document and interview references |
Use an appendix for material a reader might consult rather than read straight through. For the placement and naming of supporting pages, see Built&Written’s book appendix guide and its parts-of-a-book reference.
How to Add Family Photos, Documents, and Sources
Use clear reproductions, not screenshots of tiny thumbnails. Amazon KDP recommends print images at 300 DPI at the dimensions they will occupy on the page. A 1,200 × 1,800-pixel scan, for example, has enough pixels for approximately 4 × 6 inches at 300 DPI. Keep the original high-resolution scan and size the print copy deliberately. KDP image guidance.
Write captions that identify the people, place, and date when known. If a photograph’s subject is uncertain, say “possibly” or “believed to be.” Under each important genealogical finding, provide a source note that allows another researcher to locate the record: repository or database, collection, document identifier, date, and page where available.
Copyright and privacy deserve their own review. Owning an old print does not automatically make you the copyright owner of its image. The U.S. Copyright Office explains the distinction; rights can also vary by jurisdiction. Check reproduction permission or applicable exceptions before using material belonging to someone else. Ask living relatives before sharing sensitive details or private letters, especially if the book may be publicly sold.
A record can support a date without proving a family story about why something happened. Distinguish documented claims, attributed memories, and unresolved questions in the prose and notes.
How to Format a Family History Book for Printing
Set the book’s size and printing method before final layout. A 6 × 9-inch book often suits prose-heavy family histories; an 8.5 × 11-inch page gives large charts and scanned documents more room. Black-and-white pages usually cost less than color; paperback copies are often more economical to distribute than hardcover keepsakes. For compatible trim sizes, see Built&Written’s standard book sizes guide.
Use a legible body typeface, consistent headings, page numbers, and margins appropriate to your binding. Test a representative spread with paragraphs, a family tree, a caption, and a scanned certificate. Do not shrink a multi-generation chart until the text is technically present but unreadable.
For a completed manuscript, Built&Written’s book formatter can produce a KDP-ready print interior PDF and cover files; its images can be placed inside chapters. It does not automatically verify genealogical records or upload the book to Amazon for you. If you are beginning with your own notes and outline, Built&Written’s book generator is a separate AI-assisted drafting option, with author review still essential.

Once the final page count is fixed, use the free spine width calculator to plan the full cover and the KDP Cover Validator to check key cover specifications. These are preparation aids, not a replacement for the final KDP preview and proof.
How to Print and Share Your Family History Book With Relatives
Print-on-demand is useful when you need a handful of copies instead of a large inventory. Amazon Kindle Direct Publishing can print a paperback or hardcover after a customer orders it, but it is a publishing platform, not a private family-only print service. If the manuscript contains personal material you want to keep within the family, get quotes from a local or private short-run printer before deciding on a public listing.
With KDP, upload the interior and full cover, review the preview, and request a proof copy before publication. KDP marks proof copies “Not for Resale.” After the title is live, author copies are available at printing cost and can be given to relatives. Shipping and applicable taxes are additional. KDP’s copy rules explain the distinction.
Illustrative printing comparison: the same 120-page book
These are Amazon.com US printing costs calculated from KDP’s published rate tables, for a regular 6 × 9-inch trim and 120 interior pages. They are not retail prices, delivery quotes, or estimates for every marketplace.
| Configuration | Calculation | Printing cost / copy |
|---|---|---|
| Black-ink paperback, white/cream paper | $1.00 + 120 × $0.012 | $2.44 |
| Premium-color hardcover | $5.65 + 120 × $0.065 | $13.45 |
The difference is $11.01 per copy before shipping and taxes; for 20 copies, the print-only amounts would be $48.80 versus $269.00. A color hardcover may preserve visual detail, but the cost can be substantial. Always confirm the current configuration in KDP’s paperback cost table, hardcover cost table, and printing calculator before ordering.
For a family-only run, ask printers for a total including binding, paper, delivery, and any minimum quantity. Choose the service based on privacy and the actual number of relatives requesting copies, not simply the lowest per-page price.
Common Family History Book Mistakes to Avoid
Before final export, review the manuscript as someone who does not know the family tree. A few details that seem obvious to the researcher can confuse a first-time reader.
Inconsistent names: explain maiden names, nicknames, and alternate spellings at first mention.
Unclear relationships: identify an ancestor’s parents or branch when chapters change generations.
Timeline jumps: use dates and transitions when switching between households or locations.
Historical place names: note when a town’s name or national boundary changed.
Caption and index errors: cross-check names against photographs, the family tree, and the text.
Last-minute layout changes: recheck page numbers, image references, and cover spine after revisions.
Ask one relative who has not seen your research to read a chapter and tell you where they lost track of who was related to whom. That feedback is often more revealing than another proofreading pass.
Frequently asked questions
There is no single ideal length. A focused book about one ancestor may be only a few dozen pages; a multigenerational family history can be much longer. Outline the chapters first, then estimate how much room maps, photographs, trees, and notes need. Check the chosen printer’s page-count limits before treating a target length as final.
Yes. The main requirement is to explain the records clearly, not to write like a novelist. Create a chapter outline, write in plain language, and revise for people who do not already know the family. A relative can check relationships and missing context; a professional editor is optional if you want help with structure, grammar, or consistency.
Yes. AI can help arrange notes, propose chapter headings, and improve a rough paragraph. It should not be treated as proof that an ancestor existed or that an event happened. Supply your documented material, review every generated claim against the records, and remove invented quotations or motives. Keep control of sensitive family information before pasting it into any third-party service.
Not necessarily. A private printer can generally produce a small family run without assigning an ISBN, depending on the service and intended distribution. If you publish a standard paperback or hardcover through KDP, an ISBN is normally required; KDP may offer a free ISBN or let you provide your own. Check KDP’s ISBN guidance before choosing a route.
A GEDCOM file can transfer structured family-tree information between compatible programs, but it is not a complete, reader-friendly book. Review its names and relationships, collect any photos and source images separately, and write explanatory chapters around the people and events. Export options vary by service, so check your genealogy platform’s current documentation rather than assuming every attachment will transfer.
Cost depends on page count, trim size, color, paper, binding, quantities, and delivery location. A text-heavy paperback can be much cheaper to print than a full-color hardcover of the same length. For an accurate budget, compare the printer’s current per-copy quote with shipping and taxes, and include the cost of at least one proof. A print estimate is not the same as a public retail price.
Sources & References
- Amazon KDP: Paperback Printing Cost
- Amazon KDP: Hardcover Printing Cost
- Amazon KDP: Proof and Author Copies
- Amazon KDP: Format Images in Your Book
- Amazon KDP: Printing Cost & Royalty Calculator
- Amazon KDP: What Is an ISBN and Imprint?
- FamilySearch: GEDCOM Genealogy Tools
- U.S. Copyright Office: Fair Use FAQ and Photograph Ownership
- Built&Written: Book Formatter
- Built&Written: Book Generator
About the author